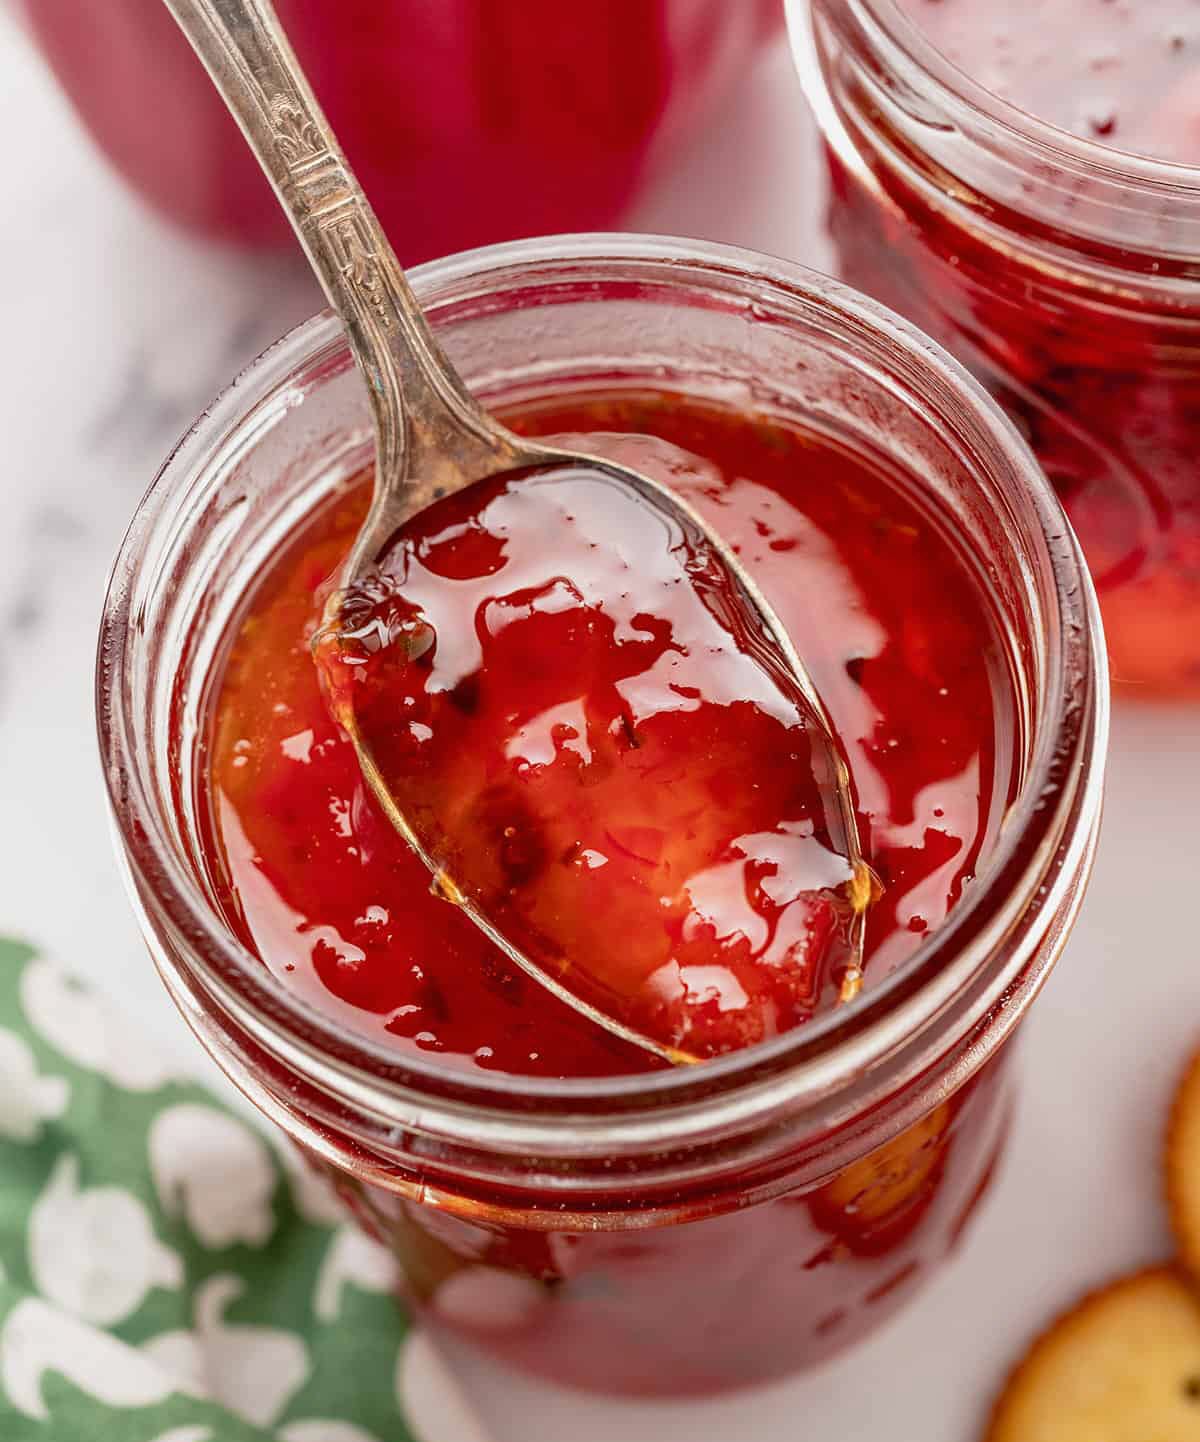
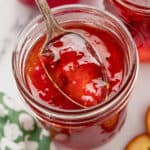
This quick and easy Red Pepper Jelly recipe makes a beautifully balanced jam that’s sweet, tart, and a bit spicy. Enjoy over cream cheese with crackers or use it as a glaze for meat and veggies. Just 5 ingredients!

Table Of Contents
Easy Red Pepper Jelly Recipe
This red pepper jelly recipe is one of my favorite ways to use up red bell peppers. With just 5 ingredients, you can transform peppers into a sweet but tangy and just a bit spicy condiment that has so many uses.
Pepper jam is very popular when served over cream cheese with crackers and it pairs well with other cheese too, like brie and goat cheese, but the uses don’t stop there. I love to use it as a glaze for meat and vegetables or even as a topping on burgers.
The great thing about this recipe is that you’re able to can it to be shelf-stable or just keep it in the fridge or freezer. It’s totally up to you. I like to can it so I have extras all year long!
Why You’ll Love This Pepper Jam
This jelly is always stocked in my kitchen. Here are a few reasons why we love it so.
- Super versatile. There are so many things you can do with this red pepper jelly, from enjoying it with cheese as a dip to a glaze for grilled meats.
- 5 ingredients. Just five items and two of them are peppers! Talk about a short shopping list…
- Canning optional. If you want to can this jelly to make it shelf stable, you absolutely can. I’ve included the instructions below. But you can definitely skip those steps and keep it in the fridge if desired.
Ingredients Needed
One great part of this recipe is you need just 5 ingredients.
(Scroll below to the printable recipe card for details and measurements.)
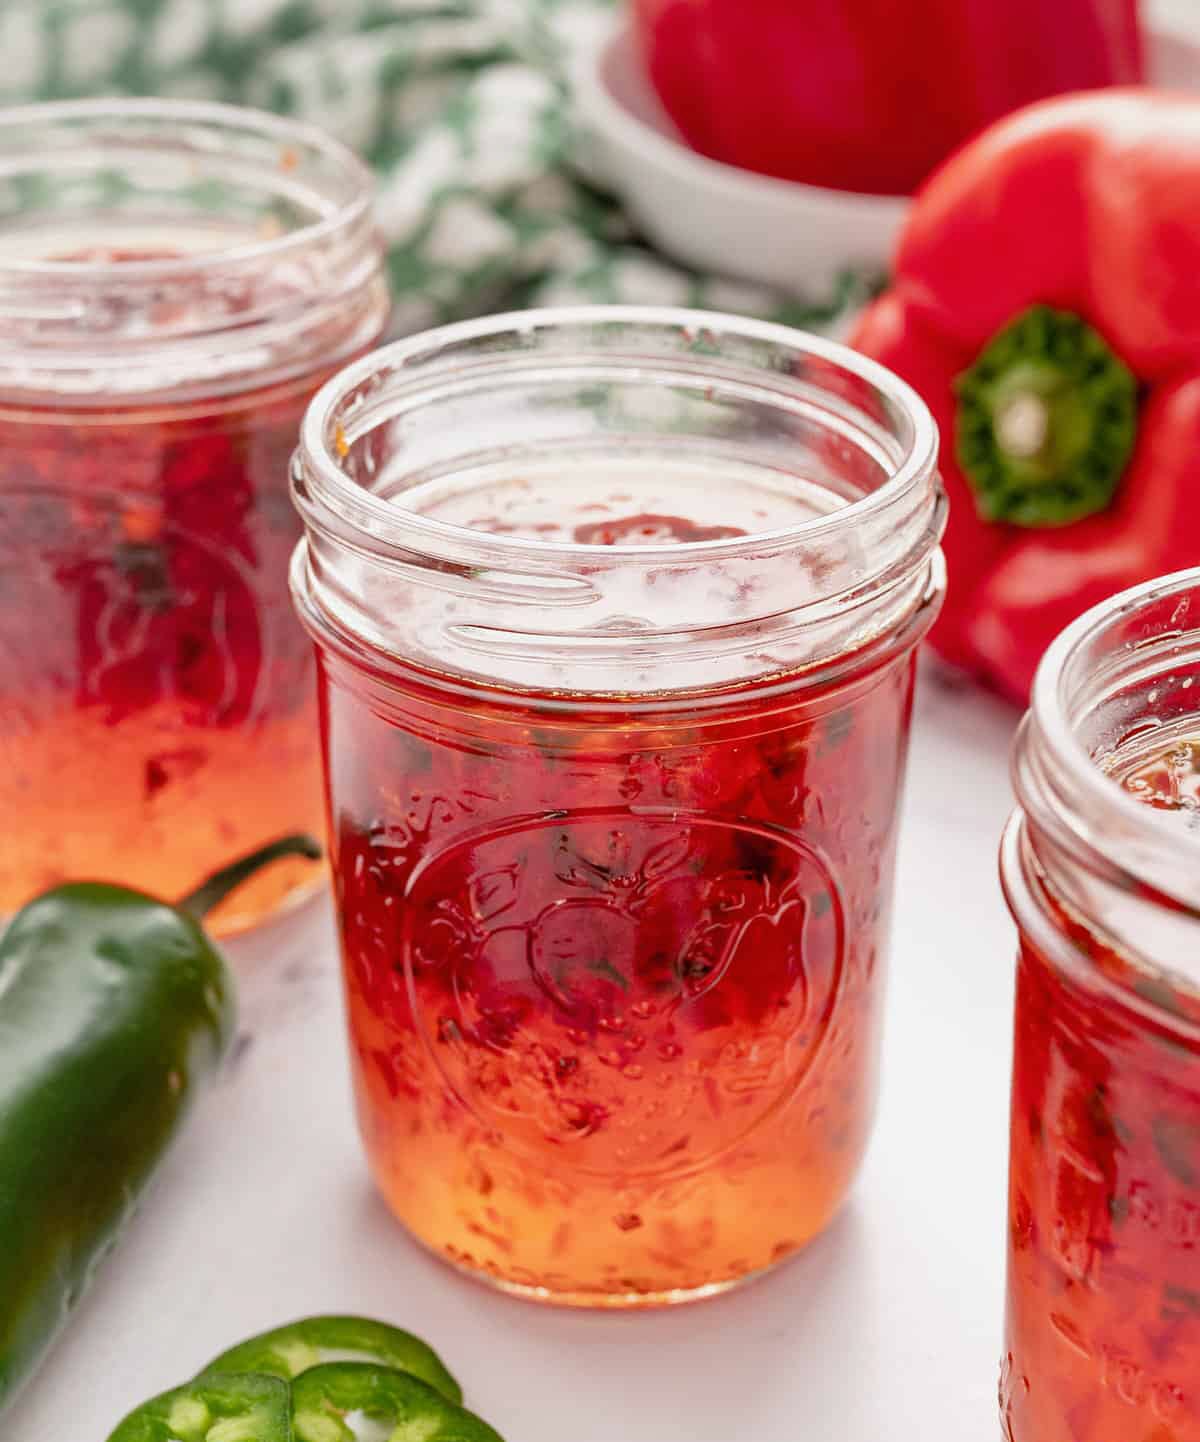
- Peppers – This pepper jam is made primarily with red bell peppers, as well as a few jalapenos.
- Granulated sugar – The key to turning these peppers into a sweet jam.
- Apple cider vinegar – Vinegar creates a reaction with the pectin that allows it to create the right consistency. I prefer apple cider vinegar for the flavor but white vinegar works too.
- Liquid pectin – Needed for the pepper jelly to set into the right texture.
Can I Use Different Types of Peppers?
Any mix of peppers can be used in this pepper jelly, such as poblanos, anaheims, or orange bell pepper. You could even make it a jalapeno jam by using primarily jalapeno peppers. Habaneros are a good replacement for the jalapeno if you want some extra spice.
The MOST important thing is that you measure your chopped peppers to 2 & 3/4 cups and keep the quantities the same.
How to Make Red Pepper Jelly
Even if you’ve never made homemade jam or jelly, you’ll find this pepper jelly quite easy to make.
(Scroll below to the printable recipe card for details and measurements.)
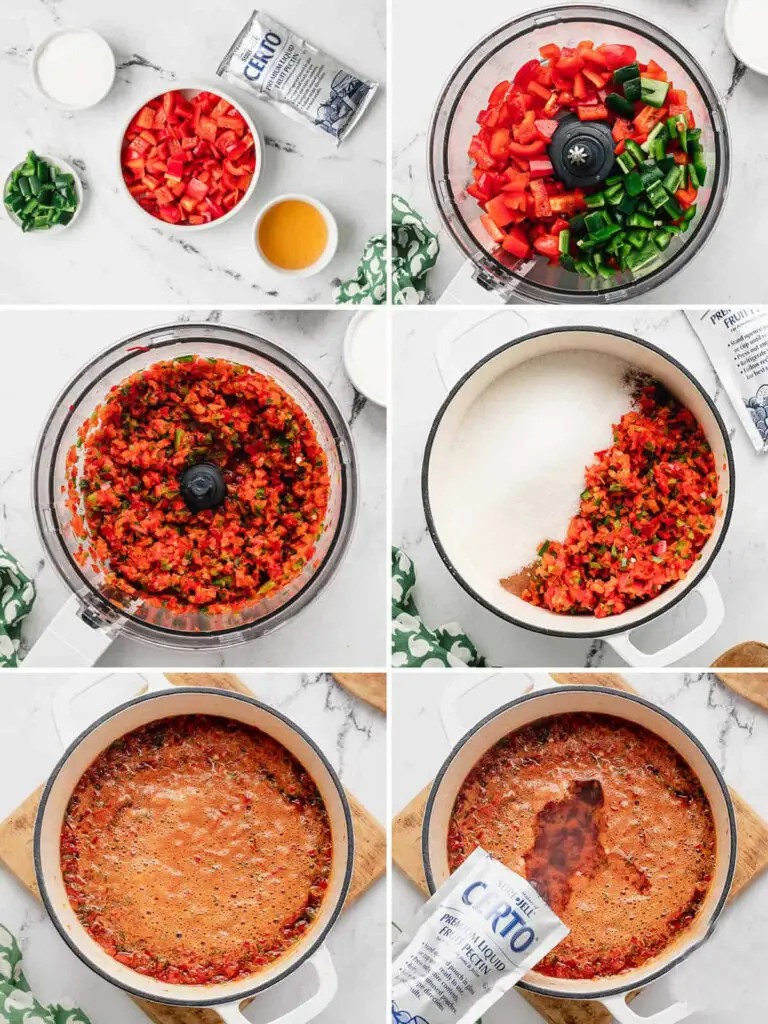
- Prepare the peppers. Remove the stems and seeds from the peppers. Chop into 1-inch pieces, then pulse in a food processor until finely chopped but not yet pureed. Measure about 2 & 3/4 cups of the mixture.
- Boil the pepper mixture. Combine the peppers, sugar, and vinegar in a pan over medium heat. Bring to a full rolling boil for 1 minute, stirring.
- Add the pectin. Stir in the pectin pouch. Return to a full rolling boil for exactly 1 minute. Remove from heat and skim off any foam on the top.
- Transfer to jars. Ladle the mixture into clean jars and allow them cool to room temperature. Seal and store in the fridge or freezer.
Canning Instructions for Red Pepper Jelly
If you want to make shelf-stable pepper jelly, you definitely can. There are just a few extra steps to take.
- Sterilize the jars. Boil the jars for 10 minutes to sterilize and keep them hot until ready to fill. New lids also need to be sterilized, which can be done in a saucepan.
- Fill the jar. Remove one jar from the water with tongs, pouring the water back into the pot. Place on a cutting board and carefully ladle the jelly into the jar. Leave 1/4 inch clearance at the top. Clean the rim and threads, then place the lid on top.
- Seal the jar. Tighten with a screw band until just finger tight – aka using just 2 fingers to tighten it. If it’s too tight, it can explode during processing.
- Boil the jars. Once all jars are filled and sealed, return to the hot water and bring to a full rolling boil. Boil for 10 minutes, then transfer the jars to a cutting board to cool for 24 hours. If any jars did not seal, they’ll need to be stored in the fridge or freezer.
What If My Pepper Jam Doesn’t Set?
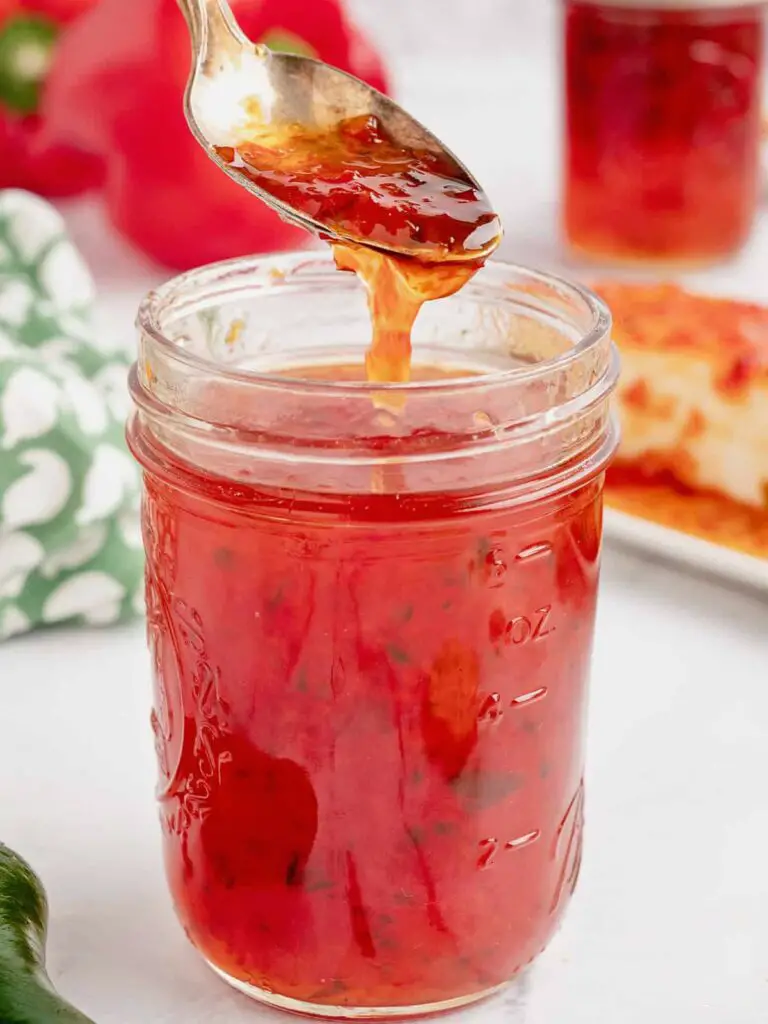
This jelly is naturally a bit looser than a normal store-bought jelly, but there are still occasions where the jelly doesn’t set right. If this happens, don’t throw away the jars just yet!
You can re-boil the jelly with more pectin and sugar. The information packet in the box of pectin will give you clear instructions and amounts on how to reset the jelly. At this point, if you are planning on canning and storing the jam, you will need to re-sterilize the jars and use new lids for the jars. The screw bands can be washed and reused.
What to Serve with Red Pepper Jelly
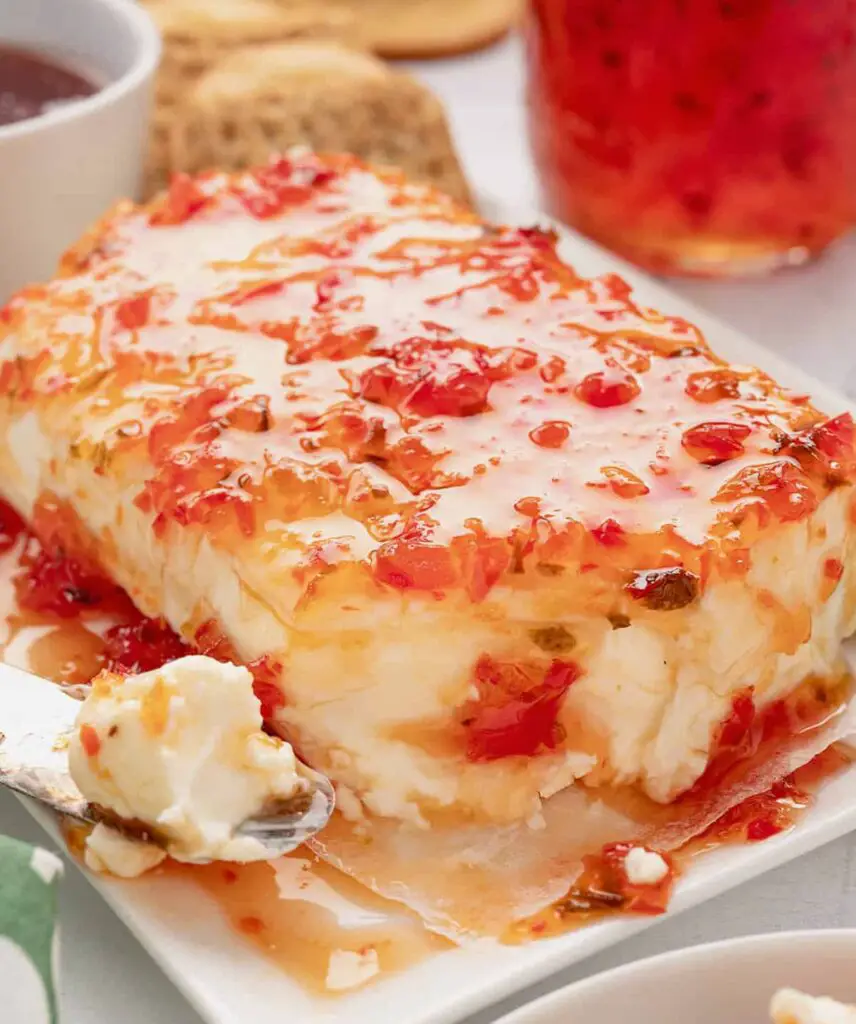
The fun thing about red pepper jelly is that there are just so many ways to serve it. The most popular way is over a block of cream cheese with crackers for dipping. It’s also fantastic on brie, goat cheese, and feta.
Other ways to use red pepper jelly include stirred into sauces for chicken wings or grilled pork chops and as a condiment on burgers, paninis, and sandwiches.
Proper Storage
- Fridge or Freezer. All sealed jars should be stored in the refrigerator for up to 2 weeks or freezer for up to 4 months.
- Pantry. If properly processed for canning (see above), this jelly can be stored for up to 1 year on the shelf of a cool, dry pantry.

Red Pepper Jelly
This quick and easy Red Pepper Jelly recipe makes a beautifully balanced jam that's sweet, tart, and a bit spicy. Enjoy over cream cheese with crackers or use it as a glaze for meat and veggies. Just 5 ingredients!
Ingredients
- 3 large red bell peppers , or 2 & 1/2 cups chopped
- 2 jalapeno peppers , or 1/4 cup chopped
- 6 & 1/2 cups granulated sugar
- 1 & 1/2 cups apple cider vinegar
- 1 pouch (3 ounce) liquid pectin
Instructions
- Remove seeds and stems from peppers and roughly chop into 1-inch pieces. Place peppers in a food processor and pulse until peppers are all very finely chopped, but not yet pureed. Measure out 2 & 3/4 cups of this pepper mixture.
- Place 2 & 3/4 cup chopped peppers, the sugar, and vinegar into a medium dutch oven or heavy bottom pot. Bring mixture to a full rolling boil, where it can’t be stirred down, and boil for 1 minute, stirring.
- Quickly stir in the pectin pouch and return to the full rolling boil for exactly 1 minute (use a timer to make sure it boils for the full minute). Remove the pot from the heat and skim off and discard any foam that has formed on the surface.
- Ladle into clean jars and cool to room temperature, then seal the jars in their lids. You can use right away or store for later. (Proper storage and canning instructions are included in the article.)
Notes
The amount of sugar. It does seem like a lot of sugar, but it is necessary in order to set the jelly properly. Also keep in mind this recipe makes 7, 8 ounce jars. This recipe has not been tested with sugar substitutes.
Using different types of peppers. Any mix of peppers can be used in this pepper jelly, such as poblanos, anaheims, or orange bell pepper. You could even make it a jalapeno jam by using primarily jalapeno peppers. Habaneros are a good replacement for the jalapeno if you want some extra spice. The MOST important thing is that you measure your chopped peppers to 2 & 3/4 cups and keep the quantities the same.